 Kia Soul: Main Crash Pad Assembly Replacement
|
|
| 1. |
Disconnect the negative (-) battery terminal.
|
| 2. |
Remove both sides of the front pillar trim.
(Refer to Interior Trim - "Front Pillar Trim")
|
| 3. |
Remove both sides of the cowl side trim.
(Refer to Interior Trim - "Cowl Side Trim")
|
| 4. |
Remove the instrument cluster.
(Refer to Body Electrical System - "Instrument Cluster")
|
| 5. |
Remove the crash pad lower panel.
(Refer to Crash Pad - "Crash Pad Lower Panel")
|
| 6. |
Remove the glove box housing.
(Refer to Crash Pad - "Glove Box Housing")
|
| 7. |
Remove the audio unit or AVN head unit.
(Refer to Body Electrical System - "Audio Unit")
(Refer to Body Electrical System - "AVN Head Unit")
|
| 8. |
Remove the crash pad center lower panel.
(Refer to Crash Pad - "Crash Pad Center Panel")
|
| 9. |
Remove the steering column shroud lower panel.
(Refer to Crash Pad - "Steering Column Shroud Panel")
|
| 10. |
Remove the steering wheel.
(Refer to Steering System - "Steering Wheel")
|
| 11. |
Remove the multifunction switch assembly.
(Refer to Body Electrical System - "Multifunction Switch")
|
| 12. |
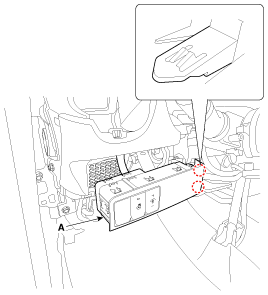
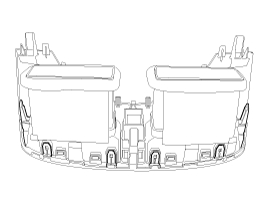
Using a screwdriver or remover, remove the crash pad lower switch
panel (A).
|
| 13. |
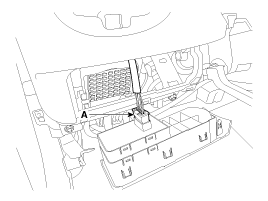
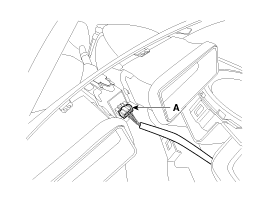
Disconnect the crash pad lower switch connector (A).
|
| 14. |
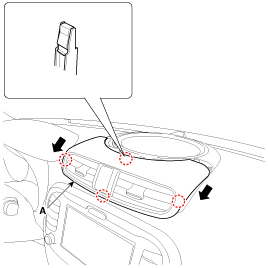
Using a screwdriver or remover, remove the crash pad center air
vent panel (A).
|
| 15. |
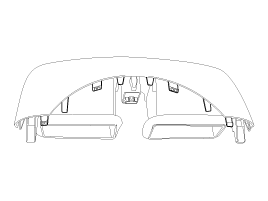
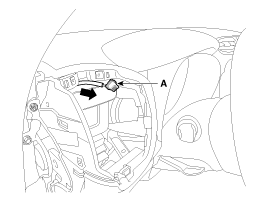
Disconnect the hazard switch connector (A).
|
| 16. |
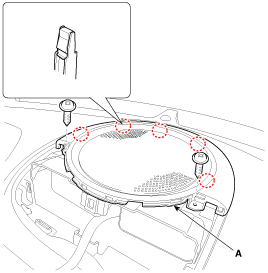
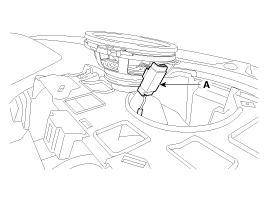
Remove the center speaker.
|
| 17. |
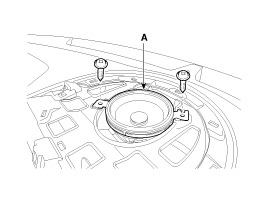
Remove the twitter speaker.
|
| 18. |
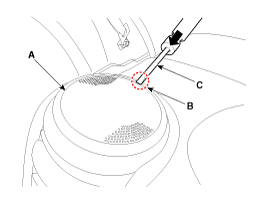
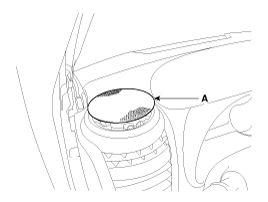
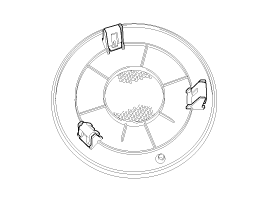
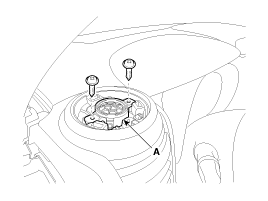
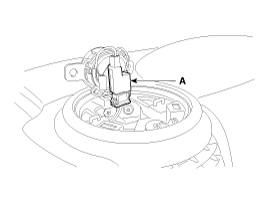
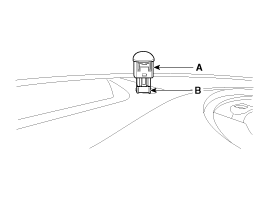
Using a screwdriver or remover, remove the photo sensor (A).
|
| 19. |
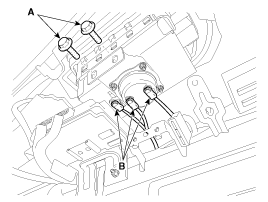
Disconnect the photo sensor connector (B).
|
| 20. |
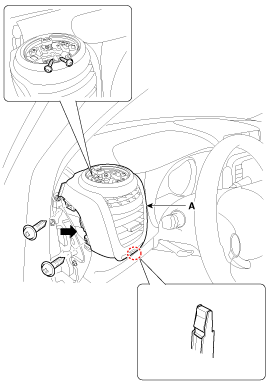
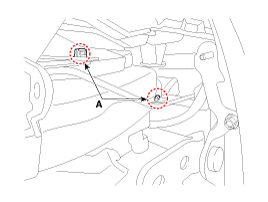
Loosen the mounting bolts (A).
|
| 21. |
Disconnect the passenger's airbag connectors (B).
|
| 22. |
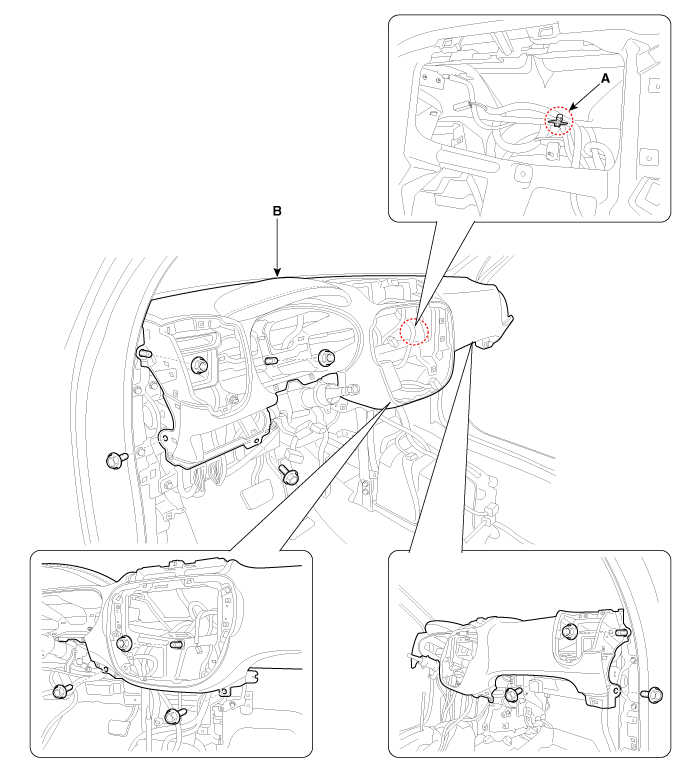
Remove the center fascia panel side's mounting clip (A).
|
| 23. |
After loosening the mounting bolts and nuts, then remove the main
crash pad assembly (B).
|
| 24. |
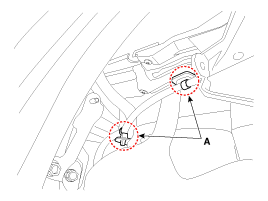
Right before removing the main crash pad, slightly lift the main
crash pad and remove the twitter speaker connector mounting clips (A)
located at the end of both side.
[LH]
[RH]
|
| 25. |
Install in the reverse order of removal.
|
 Main Crash Pad Assembly Component Location
1. Main crash pad assembly
...
 Cowl Cross Bar Assembly Component Location
1. Cowl cross bar assembly
...
See also:
ETC (Electronic Throttle Control) System. Specifications
Specification
[TPS1]
Item
Opening Percentage
(%)
Output Voltage (V)
[Vref = 5V]
C.T
7 ~ 13
0.35 ~ 0.65
W.O.T
88.6 ~ 94
...
Front Seat Cushion Cover Replacement
ŌĆó
Put on gloves to protect your hands.
...
Transmitter precautions
ŌĆó The transmitter will not work if any of the following occurs:
- The ignition key is in the ignition switch.
- You exceed the operating distance limit (about 90 feet [30 m]).
- The battery in th ...


