 Kia Soul: Removal
| 1. |
Remove the air cleaner assembly.
(Refer to Engine Mechanical System - "Air cleaner")
|
| 2. |
Remove the battery and battery tray.
(Refer to Engine Electrical System - "Battery")
|
| 3. |
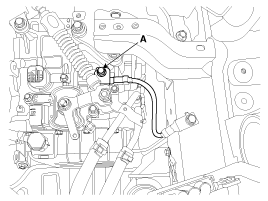
Remove the ground line after removing the bolt (A).
|
| 4. |
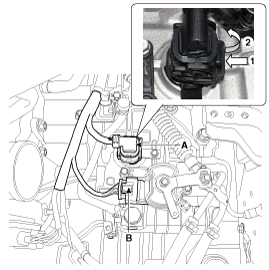
Dissconnect the solenoid valve connector (A) and inhibitor switch
connector (B).
|
| 5. |
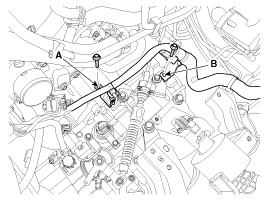
Remove the wiring brackets (A, B, C).
|
| 6. |
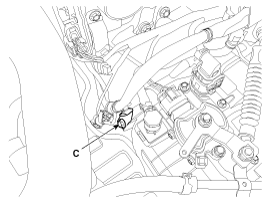
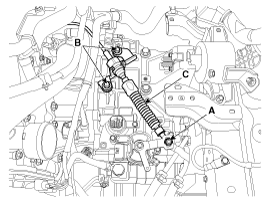
Remove the shift cable (C) after removing the nut (A) and bolts
(B).
|
| 7. |
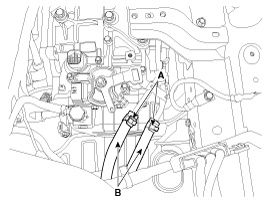
Disconnect the hose (B) after removing the automatic transaxle
fluid cooler hose clamp (A).
|
| 8. |
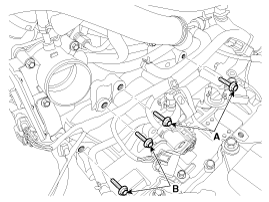
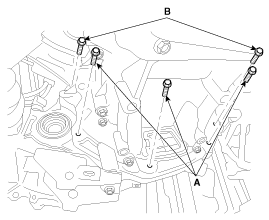
Remove the automatic transaxle upper mounting bolts (A) and the
starter mounting bolts (B).
|
| 9. |
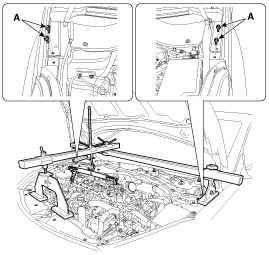
Install the engine support fixture.
|
| 10. |
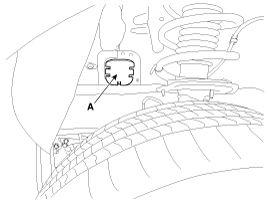
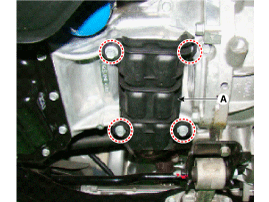
Remove the cover (A).
|
| 11. |
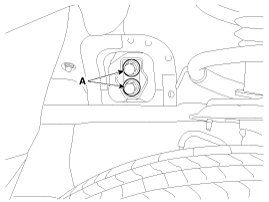
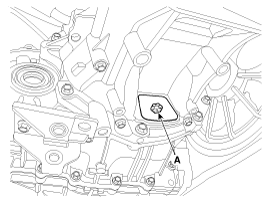
Remove the transaxle mounting bracket bolts (A).
|
| 12. |
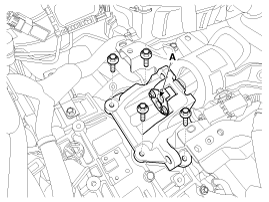
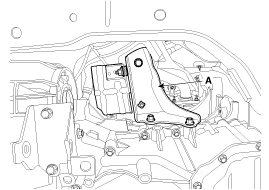
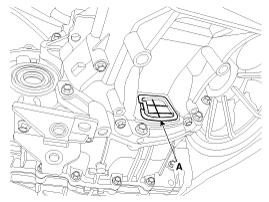
Remove the transaxle support bracket (A).
|
| 13. |
Lift the vehicle with a jack.
|
| 14. |
Remove the under cover and side cover.
(Refer to Engine Mechanical System - "Engine Room Under Cover")
|
| 15. |
Remove the drive shaft assembly.
(Refer to Driveshaft and Axle - "Front Driveshaft")
|
| 16. |
Remove the heat protector (A).
|
| 17. |
Remove the air guide bracket (A).
|
| 18. |
Remove the dust cover (A).
|
| 19. |
Remove the torque converter mounting bolts (A) with rotating the
crankshaft.
|
| 20. |
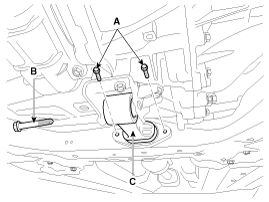
Remove the roll rod bracket (C) after removing bolts (A, B).
|
| 21. |
Remove the mounting bolts (A, B) after supporting the transaxle
by a jack.
|
| 22. |
Remove the transaxle while slowly lower the jack.
|
 Components Location
1. Converter housing
2. Automatic transaxle upper mounting bolt
3. Shift cable bracket
4. Manual control lever
5. Rear cover
6. Fluid cooler tube
7. Fluid level plug
8. ...
 Installation
1.
Install in the reverse order of removal.
If the oil seal on the transaxle case side is d ...
See also:
Mode Control Actuator Replacement
[Standard Tyep]
1.
Disconnect the negative (-) battery terminal.
2.
Remove the crash pad lower panel.
(Refer to Body - "Crash P ...
Headrest
The driver's and front passenger's seats are equipped with a headrest for the
occupant's safety and comfort.
The headrest not only provides comfort for the driver and front passenger, ...
Description
The Seat Belt Pretensioners (BPT) are installed inside Center Pillar (LH
& RH). When a vehicle crashes with a certain degree of frontal impact, the pretensioner
seat belt helps to reduce ...

