 Kia Soul: CVVT & Camshaft Installation
Kia Soul 2014-2019 PS Service Manual / Engine Mechanical System / Cylinder Head Assembly / CVVT & Camshaft Installation
| 1. |
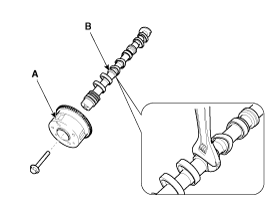
Install the intake CVVT (A) to the intake camshaft.
|

| 2. |
Install the intake CVVT & camshaft (A), with the timing mark on
the intake CVVT sprocket aligned with the mark (painted link) on the
timing chain.
|
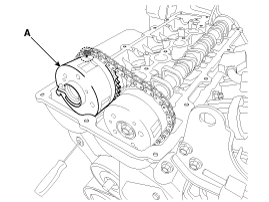
| 3. |
Install the exhaust CVVT (A), with the timing mark on the exhaust
CVVT sprocket aligned with the mark (painted link) on the timing chain.
|
| 4. |
Install the exhaust camshaft (A) to the exhaust CVVT.
|
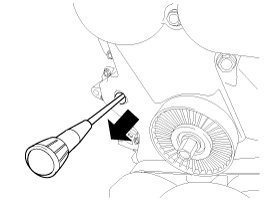
| 5. |
Remove the pick from the service hole in the timing chain cover.
|
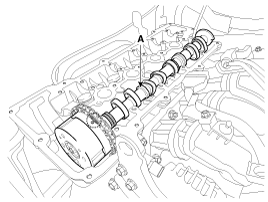
| 6. |
Check that each timing mark of the intake and exhaust CVVT sprockets
is aligned as shown in the picture.
|

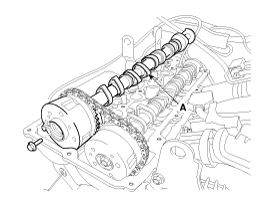
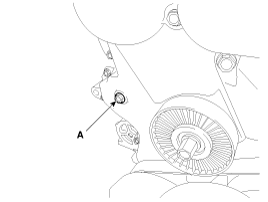
| 7. |
Install the bolt (A) to the service hole in the timing chain cover.
|
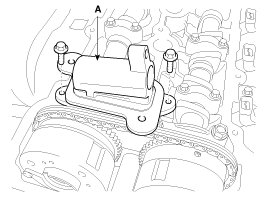
| 8. |
Install the engine mounting support bracket.
|
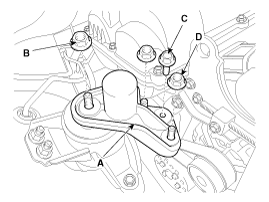
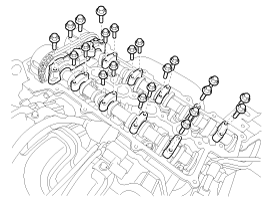
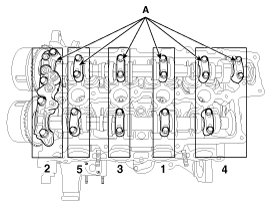
| 9. |
Install the camshaft bearing caps (A) in the order shown in the
picture and tighten the bolts to the specified torque.
|
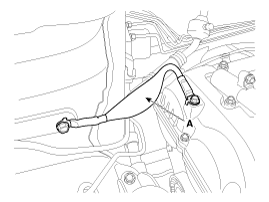
| 10. |
Install the exhaust oil control valve (OCV) adaptor (A).
|

| 11. |
Install the cylinder head cover.
(Refer to Cylinder Head Assembly - "Cylinder Head Cover")
|
 CVVT & Camshaft Inspection
Camshaft
1.
Measure the height of the cam lobe using a micrometer and check
the surface of the cam lob for wear and tear. If necessary, replace
the camshaft.
...
 Cylinder Head Components
1. Cylinder head assembly
2. MLA
3. Retainer lock
4. Retainer
5. Valve stem seal
6. Valve spring
7. Valve spring seat
8. OCV (Oil Control Valve)
9. Exhaust valv ...
See also:
Overdrive Clutch Control Solenoid Valve(OD/C_VFS). Removal
Replacing an on/off solenoid valve (SS-A, SS-B) does not require
additional hydraulic pressure adjustment; however, the ...
Unlocking
Using the door handle
1.Press the button of the driver's outside door handle.
2.The driver’s door will unlock. The hazard warning lights will blink and the chime
will sound two times.
3.Pre ...
Tail Gate Latch Replacement
•
Put on gloves to protect your hands.
...