 Kia Soul: Compressor Disassembly
Kia Soul 2014-2019 PS Service Manual / Heating,Ventilation And Air Conditioning / Air conditioning System / Compressor Disassembly
| 1. |
Remove the front tire [RH].
|
| 2. |
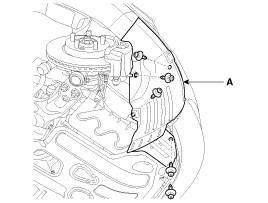
Loosen the front wheel guard mounting clips.
|
| 3. |
Separate the front portion of the front wheel guard (A) from the
wheel base.
|
| 4. |
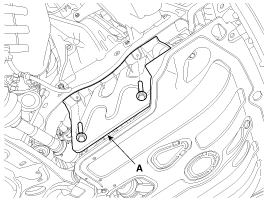
Remove the engine room right side under cover (A) by loosening
the mounting bolts.
|
| 5. |
Loosen the drive belt.
(Refer to Engine Mechanical System - " Drive Belt")
|
| 6. |
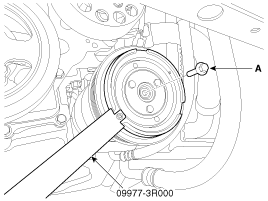
Remove the clutch bolt (A) while holding the pulley with a clutch
bolt remover (09977-3R000).
|
| 7. |
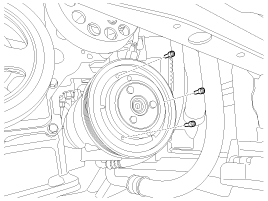
Loossen the limiter bolts and then remove the limiter & hub assembly.
|
| 8. |
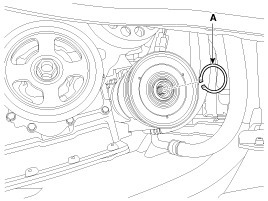
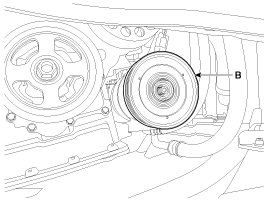
Remove the pulley (B) after removing the snap ring (A) with a
snap ring plier.
|
| 9. |
Reassemble in the reverse order of disassembly.
|
 Compressor Inspection
1.
Check the plated parts of the limiter & hub assembly (A) for color
changes, peeling or other damage. If there is damage, replace the assembly.
2 ...
 Condenser Inspection
1.
Check the condenser fins for clogging and damage. If clogged,
clean them with water, and blow them with compressed air. If bent, gently
bend them using a screwdrive ...
See also:
Removal
•
Put on gloves to protect your hands.
& ...
Air conditioning
Press the A/C button to turn the air conditioning system on (indicator light
will illuminate). Press the button again to turn the air conditioning system off. ...
Auto Light Sensor Removal
1.
Disconnect the negative (-) battery terminal.
2.
Remove the photo & auto light sensor (A) from crash pad upper
side ...

